
Sewing is a timeless craft that has been passed down through generations. Whether you’re an experienced seamstress or a beginner, owning a Singer heavy-duty sewing machine can make all the difference in your sewing projects.
However, threading your machine properly can be daunting, especially if you’re new to the craft. That’s why mastering the art of threading your Singer heavy-duty machine like a pro is essential and can make your sewing experience much more enjoyable and successful.
In this tutorial, we will guide you through the step-by-step process of threading your Singer heavy-duty machine. From the basics of threading to using the automatic needle threader and raising the bobbin thread, we have you covered.
With real-life pictures, diagrams, and video, you’ll be able to follow along and learn the proper techniques to ensure that your sewing projects turn out flawlessly.
So, let’s get started on the journey to mastering your Singer heavy-duty machine and thread like a pro!
Related Topic: How to Thread a Singer 248: Effortless, Step-by-Step Guide
Key Takeaways
- Threading a Singer Heavy Duty Sewing Machine can be daunting, but mastering it is essential for a successful sewing experience.
- Understanding how to wind the bobbin clockwise and ensuring the thread is pulled through the pre-tension spring is important.
- Threading the upper thread involves pulling the thread through various guides and tension discs, raising the presser foot for proper tension.
- The automatic needle threader can be a helpful tool if positioned correctly, but manually threading the needle is also an alternative option.
How To Thread a Singer Heavy Duty Sewing Machine:Threading Basics
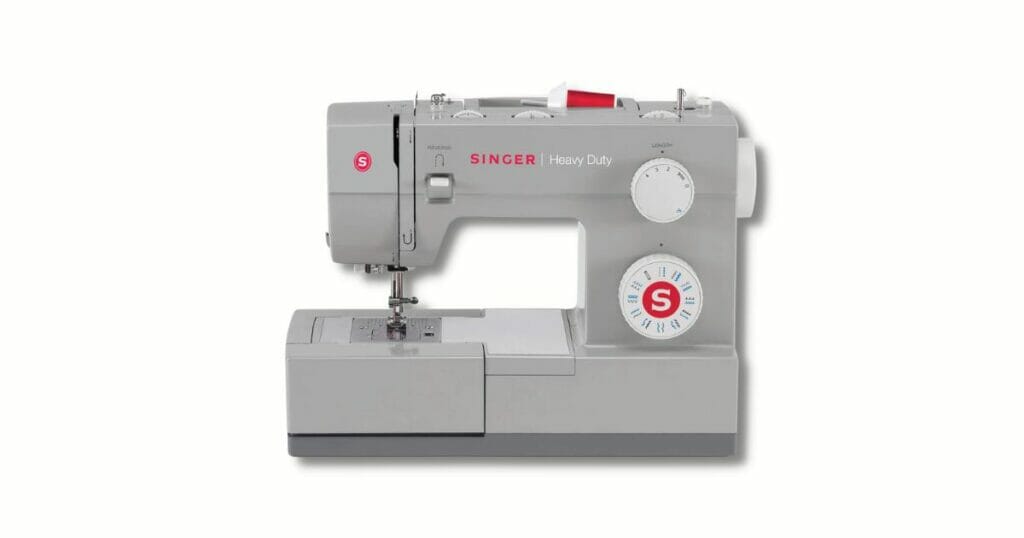
The present tutorial aims to provide step-by-step instructions, diagrams, and real-life pictures for threading a Singer Heavy Duty Sewing Machine, specifically Singer 4423, with a focus on the threading basics.
One key aspect of threading a sewing machine is understanding how to wind the bobbin. It is important to wind the bobbin clockwise and to ensure that the thread is pulled through the pre-tension spring located at the back of the machine. This will help to ensure that the thread winds evenly onto the bobbin and that it does not become tangled or break during use.
Another essential aspect of threading a Singer Heavy Duty Sewing Machine is understanding how to thread the upper thread. This involves pulling the thread through various guides and tension discs, and it is important to raise the presser foot during this process to ensure proper tension.
Additionally, the automatic needle threader can be a helpful tool for threading the needle, as long as the needle is positioned correctly. By mastering these basic techniques, sewers can ensure that their sewing machine is properly threaded and ready for use.
Bobbin Threading
To properly thread the bobbin on a Singer heavy-duty sewing machine, the thread must be wound clockwise around the bobbin and inserted into the top-loading bobbin case with the thread running counterclockwise. This feature, known as the top drop bobbin, allows for easy access and monitoring of the bobbin thread supply.
To ensure proper bobbin threading, it is crucial to follow these steps:
- Place the bobbin on the winding spindle and slide the bobbin winder shaft to the right.
- Pass the thread through the bobbin winding tension discs and wind the thread clockwise around the bobbin a few times.
- Push the bobbin winder shaft back to the left and remove the bobbin from the spindle.
When inserting the filled bobbin into the top-loading bobbin case, make sure the thread runs counterclockwise and is pulled through the pre-tension spring at the back of the machine. This ensures that the bobbin thread is properly tensioned and will not cause issues during sewing.
Additionally, it is essential to raise the presser foot during upper thread threading to allow for proper thread tension and prevent tangling. Finally, the automatic needle threader can be used to easily thread the needle, but it is important to ensure the needle is in the center position and the threader hook is perfectly placed in the eye of the needle.
Automatic Needle Threader
Using the automatic needle threader on a Singer heavy-duty sewing machine requires precision and placement. It is important to ensure that the needle is in the center position and that the hook of the needle threader is perfectly placed in the eye of the needle. This will help to prevent any damage to the needle or the threader.
In case the automatic needle threader does not work, there are some troubleshooting tips that can be followed. One alternative option to using the needle threader is to manually thread the needle. This may take a bit more time and patience, but it can be a useful skill to have in case of any issues with the automatic needle threader.
Overall, mastering the use of the automatic needle threader on a Singer heavy-duty sewing machine can save time and make the sewing process much more efficient.
FAQs
How do I adjust the tension on my Singer Heavy Duty sewing machine?
Top thread tension adjustment can solve issues with thread bunching. Follow the user manual to locate the tension adjustment dial and turn it to the appropriate setting. Troubleshoot further if necessary.
Can I use different types of thread on my Singer Heavy Duty machine?
Thread compatibility on a Singer heavy-duty sewing machine depends on the sewing techniques used. Different types of thread can be used, but it is important to ensure they are suitable for the fabric being sewn and that the tension is adjusted accordingly.
How do I troubleshoot if my bobbin thread keeps breaking?
To troubleshoot bobbin thread breaking, first check bobbin tension and ensure it’s properly threaded. Use correct needle size for fabric. Clean lint from bobbin area. Adjust upper thread tension. Re-thread machine and test stitch on scrap fabric.
Is there a specific way to clean and maintain my Singer Heavy Duty machine?
To ensure optimal performance of a Singer Heavy Duty sewing machine, regular cleaning and maintenance are crucial. Cleaning tips include using a soft cloth to wipe down the machine and removing lint build-up. Follow the manufacturer’s maintenance schedule for oiling and lubrication.
Can I use different types of needles on my Singer Heavy Duty machine?
Needle compatibility is crucial for optimal performance on Singer Heavy Duty machines. Specialty threads require specific needles. Consult the manual for recommended needle types and sizes.
Conclusion
Threading a Singer heavy-duty sewing machine can seem daunting at first, but with the right guidance, it can become second nature. By following the step-by-step instructions outlined in this tutorial, you’ll be able to thread your machine like a pro in no time.
From properly inserting the bobbin to using the automatic needle threader, this guide covers all the basics of threading your Singer machine.
Whether you’re a beginner or an experienced sewer, mastering the art of threading your sewing machine is essential for successful projects. By taking the time to learn the intricacies of your machine and following these simple steps, you’ll be on your way to creating beautiful and professional-looking garments and home decor.
So, grab your Singer heavy-duty machine and let’s get started on the path to mastering it like a pro!
