

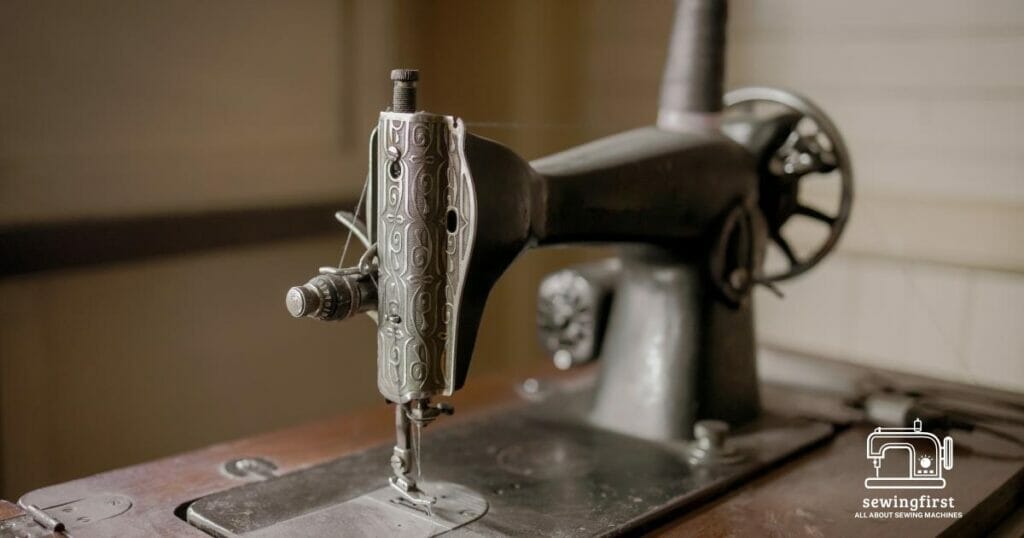
Vintage sewing machines are beautiful pieces of history. They were used to create clothing, quilts, and home décor items during the early 1900s.
However, over time these old machines will develop rust stains. This makes them less attractive and valuable.
If you want to save your vintage sewing machine from becoming a rusty mess, then read on. In this guide, I’ll teach you how to remove rust from vintage sewing machines.
You’ll also learn how to safely remove rust from sewing machine parts without damaging them. And you’ll find out how to prevent future rust problems as well.
Related Topic: How to Clean a Treadle Sewing Machine Base? Easiest Way! – 2023
Why Vintage Sewing Machine gets Rust?
Vintage sewing machines are beautiful pieces of history. They’re also very valuable. So why does rust ruin them?
Rust is a natural phenomenon that occurs whenever iron combines with oxygen. The combination creates tiny particles called ferric oxide (rust). A ferric oxide is actually a form of iron that has lost electrons. This makes it magnetic, which attracts moisture and causes rust.
When you clean a vintage sewing machine, you remove the dirt and dust that cause rust. But there’s one problem: cleaning doesn’t remove the rust. Instead, it just hides it. And once the rust is hidden, it starts growing again.
That’s why it’s important to keep your vintage sewing machine well-maintained. Regularly clean it with a non-abrasive cleaner. Use a soft cloth to wipe away any excess oil or grease. Then use a dry rag to polish the metal parts. Finally, apply a light coat of wax to protect the finish.
If you need help keeping your vintage sewing machine clean, consider hiring a professional. There are many companies that specialize in restoring vintage sewing machines. Some offer free estimates, others require a deposit. Ask friends who’ve used these services before.
What Kind Of Vintage Sewing Machines Get Rusted
Vintage sewing machines are beautiful pieces of history. They’re also prone to getting rusty over time. But not all vintage sewing machines rust. Some vintage sewing machines never rust at all. So how does one tell which ones get rusted?
There are two main factors that determine whether a vintage sewing machine will rust or not. The first factor is the type of metal used to build the machine. Steel is the most common material used to build vintage sewing machines. However, some vintage sewing machines were made out of brass or bronze. These metals are harder than steel and therefore last longer.
Another factor that determines whether a vintage sewing machine rusts is the age of the machine. Older vintage sewing machines tend to rust faster than newer models. This is because older vintage sewing machines contain more iron and copper, which makes them susceptible to corrosion.
Vintage sewing machines are usually made out of cast iron, which means they’re sturdy and durable. But cast iron isn’t perfect. Cast iron has a tendency to rust over time, especially if exposed to moisture.
If you’ve got a vintage sewing machine, you may notice some rust forming on its parts. especially the iron sewing machine base but this is normal. The problem comes when the rust spreads to other areas of the machine. Then you need to take action before the rust ruins your machine.
How to Get Rust Off Vintage Sewing Machine: Cast Iron
Cast iron sewing machines are beautiful pieces of equipment that last forever. Unfortunately, cast iron has one major flaw – rust.
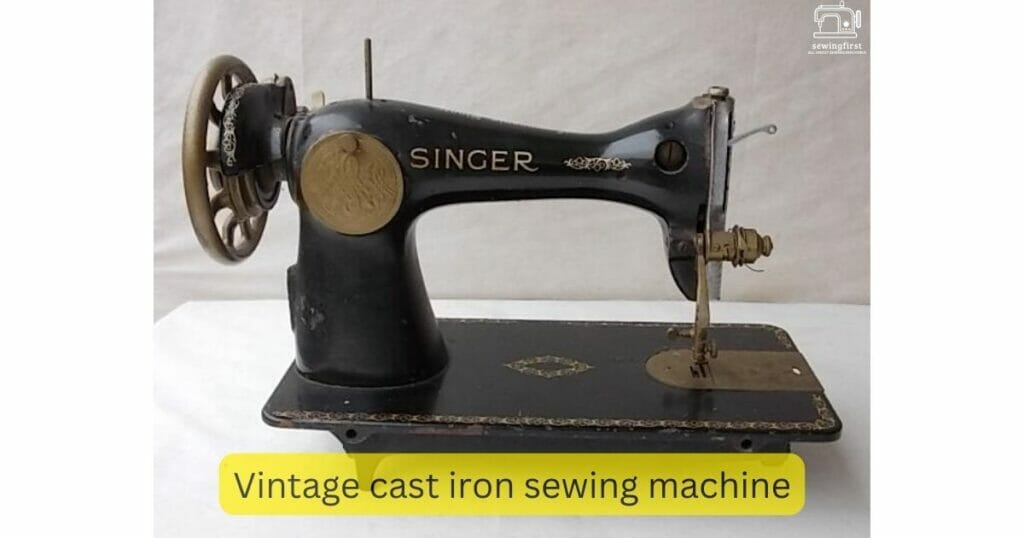
Rust forms on cast iron after years of exposure to moisture and oxygen. The result is unsightly black stains that ruin the appearance of your prized possession.
Fortunately, there are ways to remove rust from cast iron sewing machines and iron sewing machine bases. Here are some tips to help you clean your cast iron sewing machine:
- Use soap and water. Soap and water remove most surface dirt and grime. To prevent damage to the cast iron sewing machine, only scrub the parts that need cleaning. Don’t use abrasive cleaners or harsh chemicals.
- Scrub gently. Rubbing too hard may scratch the finish. Instead, use a soft brush or sponge to gently wipe away any loose dirt.
- Rinse thoroughly. After washing, rinse your machine well with warm water. This helps loosen stubborn dirt and grime.
- Dry carefully. Do not dry your machine with a blow dryer or leave it sitting in direct sunlight. These methods cause heat buildup which can warp the metal.
- Store safely. Keep your machine out of direct sunlight and store it in a cool place. Avoid storing it near heating appliances or flammable materials.
- Clean regularly. Regular maintenance keeps your machine running smoothly. Remove dust and debris with a vacuum cleaner or damp cloth.
- Maintain properly. Make sure your machine is free of oil leaks and lubrication drips. Also, keep your machine tuned up and lubricated.
- Protect your machine. Cover your machine with a plastic bag before transporting it. And, protect your machine from being scratched during storage or transport.
- Repair promptly. If your machine develops a problem, repair it right away. Otherwise, it may become irreparable.
- Enjoy your machine. Once you’ve cleaned your machine, take pride in its beauty as cast iron sewing machines need proper maintenance and regular cleaning to last.
Restoration of Vintage Sewing Machines: How to Remove Rust
Rust is one of those things that just won’t go away. And it doesn’t matter whether you’re cleaning a rusty object made out of iron or steel, wood or plastic. The same principles apply.
If you’ve ever tried to clean something that was covered in rust, you know that it’s not easy. But there are some ways to help speed up the process.
- Try to find a product specifically designed to remove rust. There are many different kinds of cleaners available, including ones that contain acids, alkalis, solvents, detergents, abrasives, and others. Some work better than others, depending on the type of rust.
- Use a soft brush to gently scrub the surface of the item. This helps loosen any dirt or grime stuck to the surface. Then rinse the area thoroughly.
- Soak the item in warm water for at least 30 minutes. This loosens any remaining dirt and grime. After soaking, rinse again.
- Dry the item with a dry cloth completely before storing it. Dry items prevent moisture from building up inside them, which prevents rust from forming.
- Store the item in a cool, dark place. Moisture collects easily in places where temperatures are warmer. So keep your items in a cool, dark location until you need them.
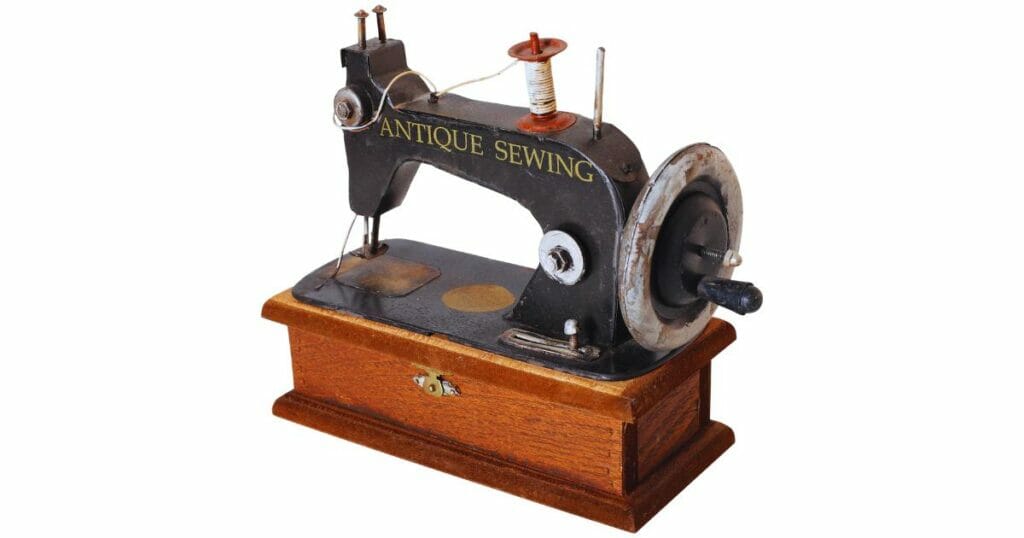
How to Clean Antique Metal Parts of a Sewing Machine
Some sewers love to keep antique sewing machines. Cleaning the antique metal parts of a sewing machine is not hard at all. The only problem is that most people don’t know how to clean them as most antique pieces are made of cast iron. So here we go…
First, remove any loose screws and bolts. Then soak the parts in warm water mixed with dish soap. Let the parts sit overnight.
Next day, rinse the parts thoroughly with hot and clean water. Dry the parts with paper towels. Use a soft and clean cloth to wipe away any remaining dirt.
Finally, apply a coat of wax polish to protect the metal parts. Wax polish dries clear and protects the metal parts from further damage. Now you’re ready to sew your antique machine again!
How to Remove Spots from a Vintage Sewing Machine
Inconspicuous spots on a vintage sewing machine can be difficult to spot especially on an iron sewing machine base. They can also be very stubborn. That’s why it’s important to have a good way to remove them. Moreover, Rust spots are unsightly blemishes on any metal surface.
They’re especially noticeable on older sewing machines, which tend to collect dust and dirt over time.
To clean out these spots, simply wipe them down with a damp cloth. But before you begin, make sure you’ve removed all the oil from the machine. Otherwise, you may end up spreading the rust back onto the metal parts of the machine.
If you find yourself dealing with rusty spots on your sewing machine, try one of these tips:
- Use a soft brush to gently scrub away the rust.
- Clean the machine regularly with soap and clean water. Use a damp cloth.
- Keep the machine well-oiled.
- Don’t let the machine sit idle for long periods of time.
- Avoid storing the machine in direct sunlight.
- Store the machine in a cool dry place.
- Do not attempt to repair the machine yourself.
- Contact a professional for repairs.
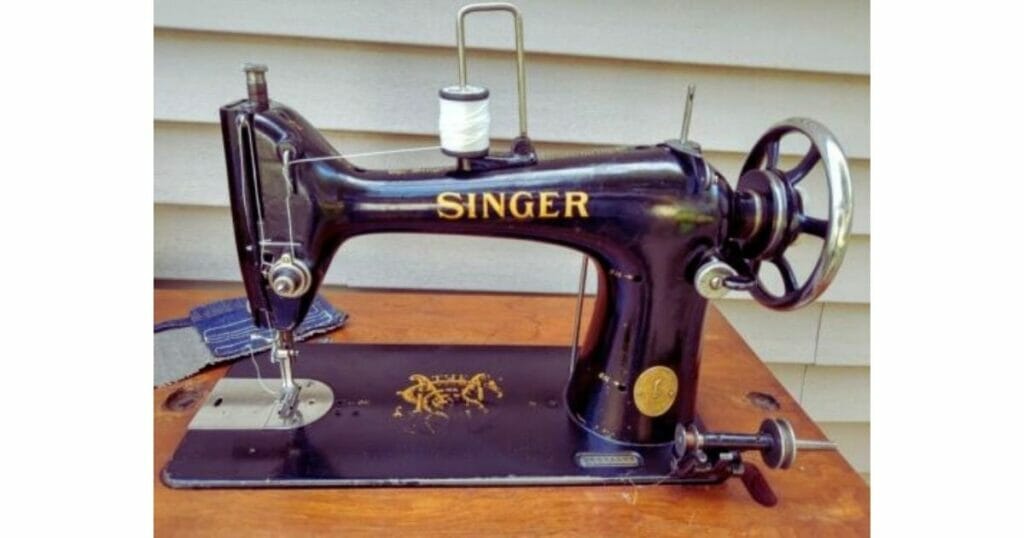
Remove Rusting from a Vintage Singer Sewing Machine
Vintage Singer sewing machines are some of the best-known models of all time. And they’re still being used today by thousands of people around the world.
But there’s no denying that they do require maintenance. Especially if you want to use them for years to come.
And when it comes to cleaning, Vintage Singer sewing machines are no exception. In fact, they’re even more prone to rusting than other types of sewing machines.
So what causes this? Well, it’s actually quite simple. It’s just like anything else. You see, Singer sewing machines were originally manufactured using steel. Which means they’re susceptible to rusting.
And because Singer sewing machines are so popular, many people have been left with old Singer sewing machines lying around their homes.
That’s why it’s crucial to learn how to clean a Vintage Singer sewing machine properly. Because otherwise, you could end up damaging the machine. Or worse yet, leaving it with rust stains.
You can remove rust from a vintage Singer sewing machine by following these steps
Step 1 – Remove All Screws and Bolts
The first step in getting rid of rust from a vintage Singer sewing machine is to remove all the screws and bolts. This will allow you to access the interior of the machine.
Step 2 – Clean Out the Interior
Once you’ve removed all the screws and bolts, take a look at the inside of the machine. If you notice any loose or broken parts, replace them immediately.
You should also check the belt tensioner. If it’s damaged or missing, replace it.
Step 3 – Check For Any Damaged Parts
Now that you’ve cleaned everything out, check for any damaged parts. If you find any, replace them as soon as possible.
Step 4 – Clean The Outside
Next, turn the machine upside down and give it a thorough cleaning. Use a soft brush to gently rub away the rust.
Step 5 – Dry the Machine
After you’ve finished cleaning the outside of the machine, dry it thoroughly. Then, store it somewhere safe until you need it again as vintage singer sewing machines have antique metal pieces that can become rusted metal if not taken care of properly.
Essential Tools and Chemicals: Required to Get Off The Rust
Rust is a common problem with vintage sewing machines. But there’s no need to throw away your beloved antique just yet! There are many ways to remove rust from vintage sewing machines. Here are some essential tools and chemicals required to get the rust off.
First, you’ll need a strong chemical called Evapo-Rust. This strong chemical removes rust from metal surfaces quickly and easily.
It’s safe for most metals including aluminum, brass, copper, iron, nickel, stainless steel, tin, zinc, and others. Make sure to check chemical sensitivities.
Next, you’ll need a wire brush. Wire brushes are used to clean rusty parts of machinery. They’re made of soft nylon bristles that are attached to a handle. Use them to scrub the rust off metal surfaces.
Finally, you’ll need a solvent. Solvents dissolve solids, which means they can be used to remove rust from metal surfaces.
Some solvents include acetone, alcohol, gasoline, kerosene, mineral spirits, paint thinner, turpentine, white vinegar (Try Apple cider vinegar treadle), and acids (acetic acid, citric acid).
Use these cleaning tools and chemicals together to remove rust from vintage machines.
Spray Paints and Sewing Machine Oil: Protect the Vintage Sewing Machine
There are many ways to protect the finish of a vintage sewing machine. One option is to apply a coat of spray paint. Another option is to use sewing machine oil. Both options work well, but each has its pros and cons.
When choosing between spray paint and sewing machine oil, consider these factors:
Spray Paint
Spray paint is quick and easy to apply especially on an iron sewing machine bases. However, it doesn’t last long. After a couple of months, the paint starts to peel away. And since spray paint is usually applied over bare metal, it leaves behind a residue that attracts dirt and grime.
Sewing Machine Oil
Sewing machine oil lasts longer than spray paint. It protects the finish better, too. Plus, it won’t attract dirt and grime. So, if you’re planning to sell your vintage sewing machine, you should definitely go with sewing machine oil.
There’s no better oil than a blue creeper sewing machine oilcan. This special blend of oils protects your vintage sewing machine from dust, dirt, grime, and corrosion.
This blue creeper sewing machine oilcan is made especially for vintage sewing machines and has been used successfully for over 50 years. The oil is non-toxic and safe for your machine. It won’t harm your machine or cause any damage.
Elbow Grease
If you’re going to clean a vintage sewing machine, you need elbow grease. But not just any elbow grease. The right kind of elbow grease will remove rust, and metal clean, and restore the original shine.
There are two kinds of elbow grease: mechanical and chemical. Mechanical elbow grease is made from oil and metal shavings. Chemical elbow grease is made from soap and water. Both work well at removing rust, but only one works well at restoring the original shine.
Conclusion
In conclusion, if you want to keep your vintage sewing machine in tip-top shape, you need to clean it regularly. This means taking it apart and cleaning each part thoroughly. Once you’ve done that, you can use a soft cloth to wipe away any remaining dust and dirt. Then, you can apply a light coat of oil to help prevent further corrosion from occurring. Finally, you can reassemble your machine and test it to ensure that it works properly.
Once you’ve got your machine working like new, you can use it to create beautiful pieces of clothing for yourself or your loved ones.
